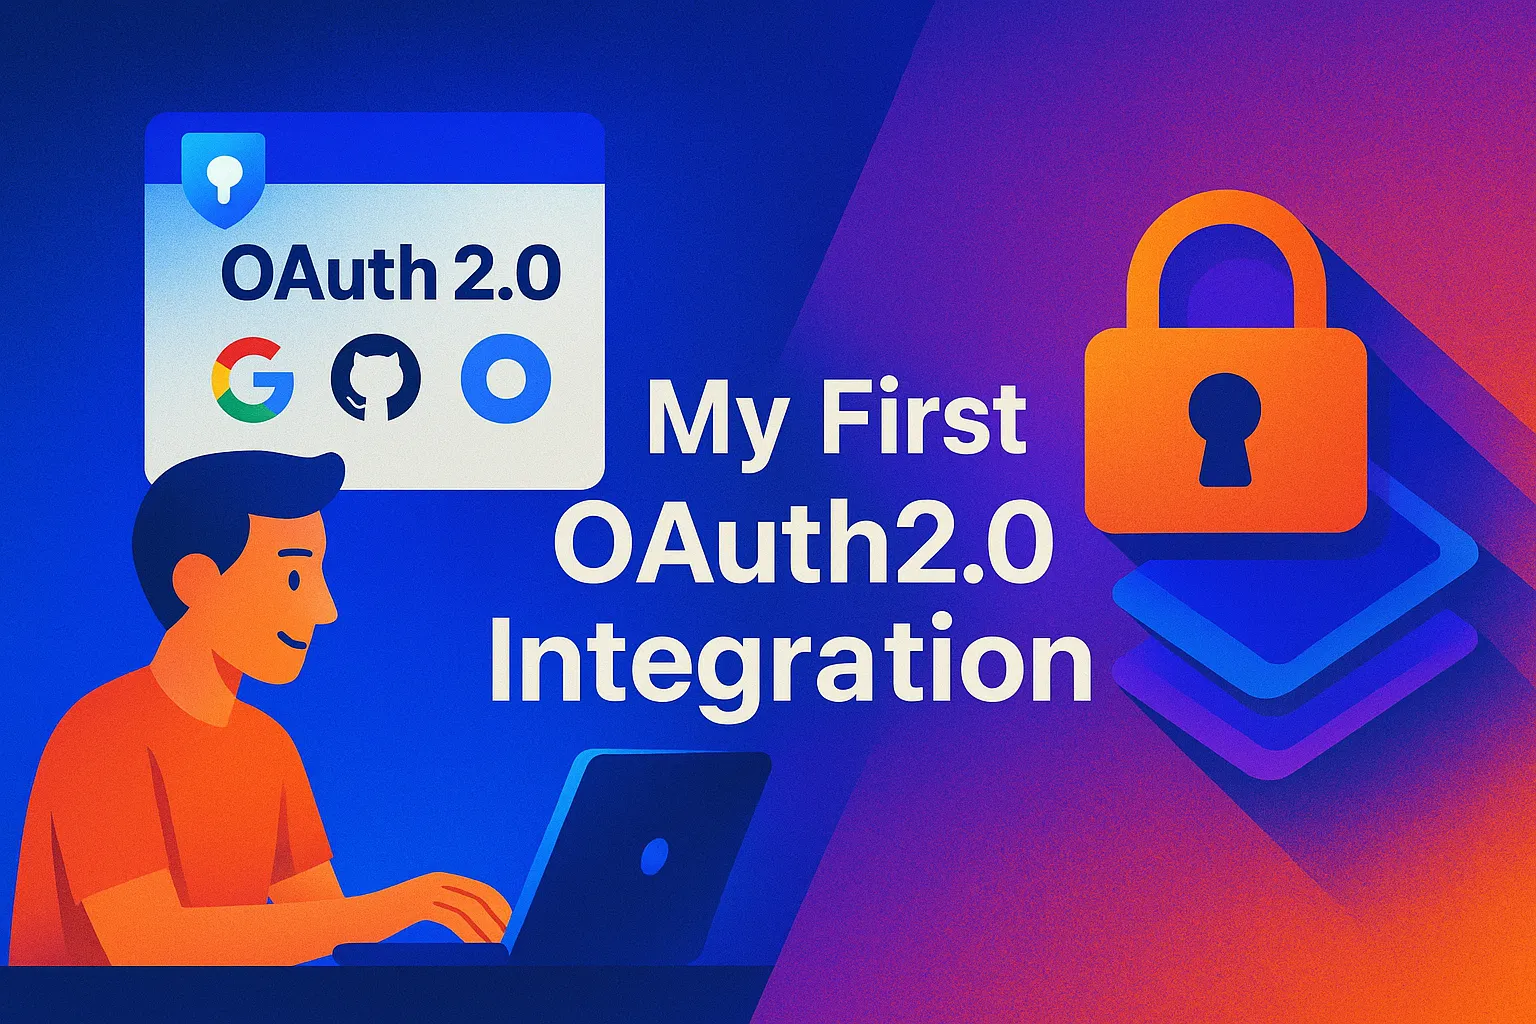
“Kripanshu, can you add Google OAuth to our marketing dashboard? We need it by next week.”
It was Week 2 of my internship at Messold Technologies. I stared at my screen, trying to look confident while internally panicking. OAuth? I’d heard the term, sure. But implementing it? For a production system handling $1M+ monthly ad spend?
Spoiler alert: I figured it out. And it wasn’t nearly as terrifying as I thought.
The “What The Hell Is OAuth?” Moment
It was Monday morning, coffee in hand, when my manager dropped this bombshell. I immediately did what any self-respecting developer does: opened 47 tabs and started Googling.
My Initial Confusion
- “Authorization vs Authentication?? WHAT’S THE DIFFERENCE?!”
- “Wait, OAuth isn’t actually for logging in users?”
- “Why does Google ask for permissions?”
- “Is this about identity or access?”
- “OAuth vs OAuth 2.0 vs OpenID Connect???”
What I Finally Learned
- Authorization = “What can you access?”
- Authentication = “Who are you?”
- OAuth is about permissions (authorization), not identity (authentication).
- It’s like giving a third-party app a temporary digital key card to access certain parts of your account.
OAuth Explained: The Hotel Key Card Analogy
After hours of reading dense specifications, here’s the analogy that finally made it click for me:
- You: Hotel guest
- Hotel: Google (or any OAuth provider)
- Gym: My app (Messold dashboard)
- Key Card: OAuth token
Instead of giving the gym your master hotel room key (your password), the hotel front desk gives you a special gym-only key card. It only opens the gym door, it expires at midnight, and you can cancel it anytime without affecting your room key access.
The Implementation Reality Check
Here’s how my first integration week actually played out:
- Monday: Spent 6 hours confused by dense authorization flow diagrams.
- Tuesday: Discovered the Google OAuth Playground (an absolute lifesaver!).
- Wednesday: Built the basic flow, then fought CORS errors and redirect URI mismatch configurations.
- Thursday: Finally got my first successful access token.
- Friday: Deployed to production, realizing I needed to implement the token refresh mechanism.
Authorization vs Authentication: The Key Difference
Understanding this difference is critical:
🔐 Authentication: “Who are you?”
- Definition: Proving your identity.
- Analogy: Showing your passport at airport security or your ID at the hotel front desk.
- Examples: Logging into Gmail, Face ID, Two-Factor Authentication (2FA).
- Result: “Yes, you are who you claim to be.”
🔑 Authorization: “What can you do?”
- Definition: Determining permissions and access rights.
- Analogy: Your hotel key card lets you into your room and the pool, but not the presidential suite or staff offices.
- Examples: Google asking “Allow dashboard to read your calendars?”, admin vs editor roles, API read-only scopes.
- Result: “You can access these specific resources.”
What I Wish Someone Had Told Me
For a deep dive into standard authentication strategies (including how stateless JWTs differ from stateful sessions), check out my JWT vs Sessions comparison guide. I’ve applied these methods across various projects, such as implementing JWT authentication in the Lost & Found Campus Mobile App and using role-based APIs in the QuickDoc Healthcare Suite.
Common Beginner Mistakes
- Overthinking flows: Start with the standard Authorization Code Flow. It is the secure choice for web servers.
- Ignoring the state parameter: The
stateparameter is non-negotiable. It protects your users against Cross-Site Request Forgery (CSRF) attacks. - Storing access tokens in LocalStorage: Never store sensitive tokens in LocalStorage; they are vulnerable to XSS. Use secure
httpOnlycookies instead. - Not handling refresh tokens: Access tokens expire quickly (usually 1 hour). You must handle refresh tokens to keep users logged in.
What Actually Matters
- Security first: Make sure HTTPS is enforced everywhere.
- Keep scopes minimal: Only request the specific permissions your application actually needs.
- Test thoroughly: Handle token expiration and user revocation cases gracefully.
“Realize OAuth isn’t some proprietary Google service. It’s an open protocol. Once I understood that OAuth 2.0 is a standard that works everywhere - GitHub, Facebook, Microsoft - suddenly the whole ecosystem made sense.”
Detailed Comparison: Auth Methods
| Method | Authentication Flow | When to Use | Pros | Cons | Security Level | Implementation Time |
|---|---|---|---|---|---|---|
| OAuth 2.0 (Auth Code Flow) | 1. App → Redirects to Provider 2. User grants permission 3. Provider redirects back with code 4. Server exchanges code for token |
• Third-party API access • Accessing Google/FB APIs • Mobile apps • Dashboards |
• No password sharing • Granular scopes • User can revoke access • Industry standard |
• Multiple redirect steps • Needs token refreshing • More setup steps |
Very High (Best Practice) | 5-7 days (Learning required) |
| JWT Tokens (Stateless Bearer) | 1. User sends credentials 2. Server validates & signs JWT 3. Client stores token 4. Client sends token in headers |
• SPAs (React/Vue/Next) • Mobile app backends • Distributed microservices |
• Stateless (no server DB hit) • Scales horizontally • CORS-friendly |
• Hard to revoke immediately • Vulnerable to XSS if in LocalStorage |
High (If secure) | 3-5 days (Moderate) |
| Session-Based (Cookie Auth) | 1. User sends credentials 2. Server validates & saves session 3. Server returns session ID cookie 4. Browser auto-sends cookie |
• Traditional web apps • Server-side rendering (SSR) • Admin panels / CMS |
• Full server-side logout control • Secure httpOnly cookies • Well-understood |
• Requires server storage (Redis) • Harder to scale horizontally • Cookie limits on mobile |
High (Standard) | 1-2 days (Simple) |
| API Keys (Static Token) | 1. Dev generates key in dashboard 2. Key stored in app configuration 3. Key sent in headers on requests |
• Server-to-server APIs • Background services • Payment gateways (Stripe) |
• Simple setup • No complex user logins • Very lightweight |
• No user-specific context • Hard to rotate securely • High risk if key leaks |
Medium (Depends on management) | 30 minutes (Instant) |
| Basic Auth (User:Password) | 1. Client base64-encodes user:pass 2. Add to Authorization header 3. Server decodes & validates |
• Internal dev interfaces • Quick API prototypes • Legacy system scripts |
• Dead simple to write • Supported everywhere |
• Sends credentials on every call • No built-in expiration • Base64 is not encrypted |
Low (Only over HTTPS) | 15 minutes (Trivial) |
Key Takeaways for Your First OAuth Integration
- Use the OAuth Playground first: Test the authentication flow inside Google’s or GitHub’s API playground before writing any backend code.
- State parameter is non-negotiable: Generate a cryptographically secure random string, pass it in the auth URL, and verify it on the callback to prevent CSRF attacks.
- Stick to the Authorization Code Flow: It handles the code-to-token exchange on your secure server, keeping your secret keys hidden from public clients.
OAuth seems intimidating at first, but it is really just a structured way to share access permissions. Once you get it running once, it becomes second nature.